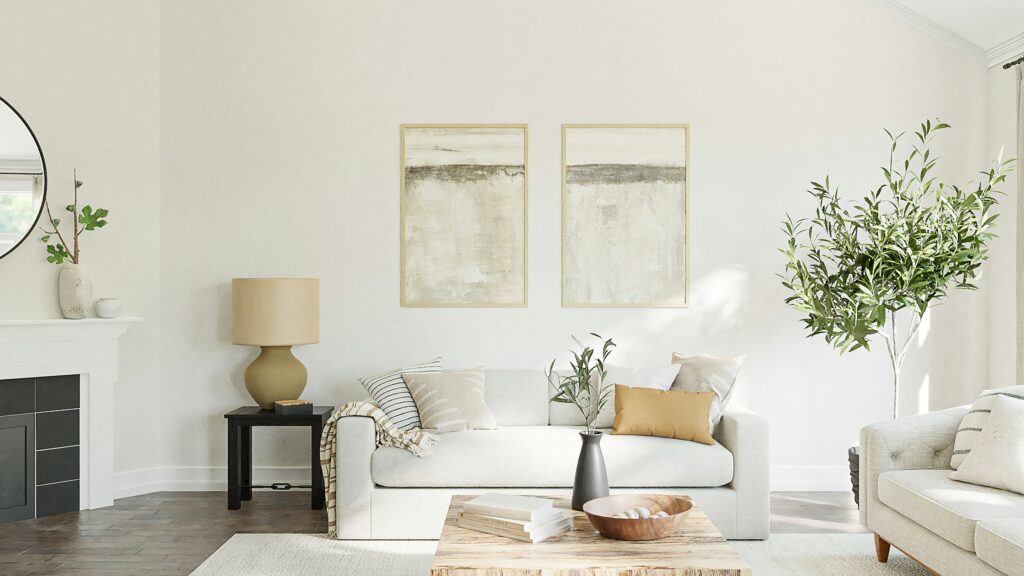
Clean, minimalist storage is having a moment, and it’s not just about hiding clutter. It’s about making a room feel intentional. Whether you’re in a rented apartment or your own place, simple shelving systems, floating cabinets, and neutral-toned bins are pulling double duty as both function and style.
The beauty of this trend is how adaptable it is. Got a tiny kitchen? Wall-mounted spice racks and open shelving keep things sleek. Living in a studio? Leaning ladder shelves and under-bed drawers help you stay organized without feeling boxed in. For homeowners, these options deliver lasting style without tearing down walls.
Best part? You don’t need to splurge. Most minimalist storage solutions come with simple installation and a modest price tag. It’s a smart, cost-effective way to make your spaces look sharper, calmer, and more put-together without diving into a full reno.
To build shelves that look good and hold up over time, the right tools and materials make all the difference. Start with solid wood—either pre-cut planks or DIY cuts depending on your setup. For strength, go with thicknesses around 1 inch and depths between 8 and 12 inches. That’s sturdy enough for books, cameras, or gear without sagging.
For mounting, wall brackets are your most forgiving option, but invisible floating hardware gives a cleaner, minimal look. Either way, you’ll need a drill, screws, and the right wall anchors for your surface type—drywall, brick, or otherwise. A level is critical unless you like crooked shelves, and a tape measure and pencil keep things accurate.
Finally, sand the wood edges smooth and finish with a stain or paint that fits your space. This step is optional, but it adds polish and protects the wood. Simple tools. Thoughtful prep. Strong results.
Choose the Right Wall and Mark Your Spot
Before you even touch a drill, you’ve got to size up your wall. Drywall alone won’t hold much weight, so look for studs. Use a stud finder or knock and listen—solid thuds usually mean you’ve hit one. If there’s no stud in sight and you’re dealing with drywall only, brace yourself with anchors made for the load you need.
Next up: spacing. Step back and picture where the shelves actually make sense. Measure out shelf length and height based on what you’re storing and the room layout. Too tight, and it looks cramped. Too loose, and you waste space.
Finally, mark your anchor points clearly. Use a level. Use a pencil. A bit of prep now saves you from the disaster of tilted shelves later.
Sanding the edges is where rough becomes refined. Don’t skip it. Use medium-grit sandpaper to round off any sharp corners or uneven cuts. It’ll save your hands from splinters later and give the whole piece a cleaner finish.
Next, you’ve got options: stain or paint. Not required, but adding color or tone gives your build some visual weight. Go dark for depth, light for minimal. Use a brush, rag, or sprayer—whatever fits the style.
After that, let it dry. Set it aside while you prep for mounting. No rushing here. A clean, dry surface is what keeps things solid when it’s time to install.
Before you hang that shelf, start by drilling pilot holes directly into studs. If you’re not hitting a stud, don’t skip the support—use quality wall anchors instead. This helps you avoid drywall damage down the line. Once your holes are ready, check the level before you crank down the screws. A quick level check here saves you from a lopsided shelf later. Tighten things incrementally—don’t rush. Finally, secure every bracket properly before placing the shelf. This isn’t the time to eyeball it. Get it locked in and solid.
Slide the shelf onto the wall bracket or secure it using screws, depending on the bracket style. Once it’s in place, grab your level again and double check that everything is straight. Slight shifts can happen during installation, so this quick check can save you hassle later. If you’re planning to store anything heavier than books or a few decor pieces, consider adding reinforcement. A couple of hidden L-brackets or wall anchors can go a long way in keeping things secure and avoiding a mid-day shelf collapse.
Shelves aren’t just for storing stuff. They’re a chance to show off what matters to you. Start simple with the classics: a few good books, a potted plant, maybe a framed photo or two. Add a small sculpture or a candle if that’s your thing. The goal? Balance. Don’t overload it. Let each piece breathe.
Rotating decor seasonally is smart if you like a space that feels fresh year-round. A few pinecones or a muted wreath around the holidays. A ceramic vase with wildflowers in spring. If that sounds like too much maintenance, keep it timeless. Black and white photos, neutral ceramics, or simple glass jars work year-round with zero fuss.
Want to push it further? Try making your own wall art. Everyday objects—maps, fabric scraps, even old tools—can become striking pieces with a little creativity. Check out this guide: Make custom wall art from everyday items. Your shelves don’t need to hold what everyone else has. Let them tell your story.
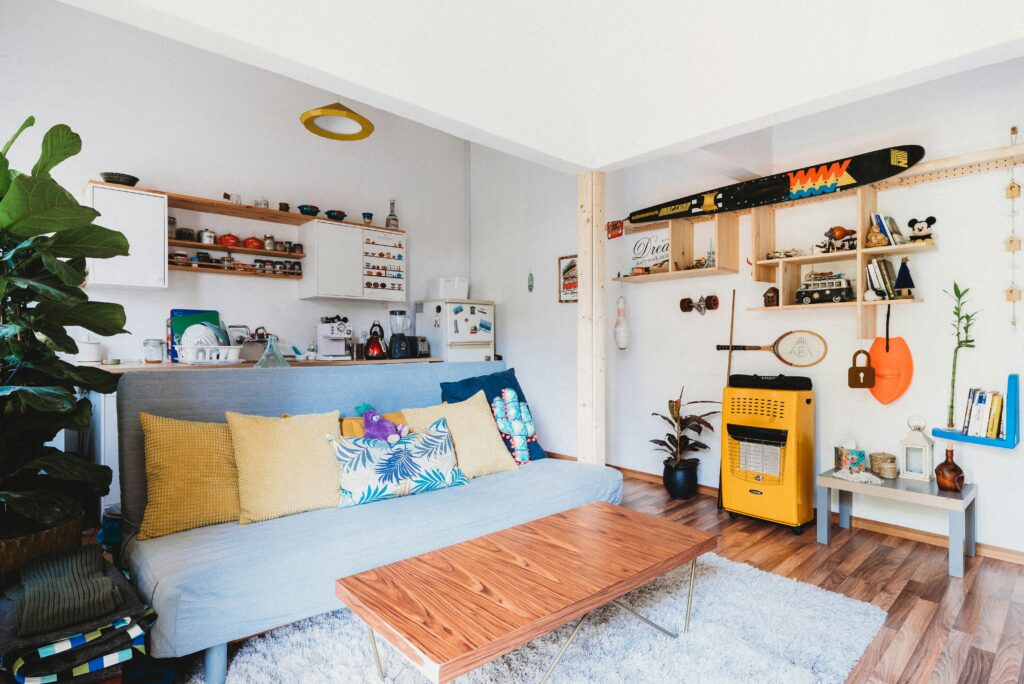
One Simple Setup, Big Visual Upgrade
Creating a standout vlogging space doesn’t require expensive gear or professional experience. With just a small investment and a little creativity, you can dramatically improve your backdrop—and your overall on-camera presence.
Not a Pro? Not a Problem
You don’t need to rent a studio or hire a designer. Many vloggers are upgrading their spaces with basic tools from local hardware or home decor stores. You can DIY a stylish, high-impact background with minimal experience.
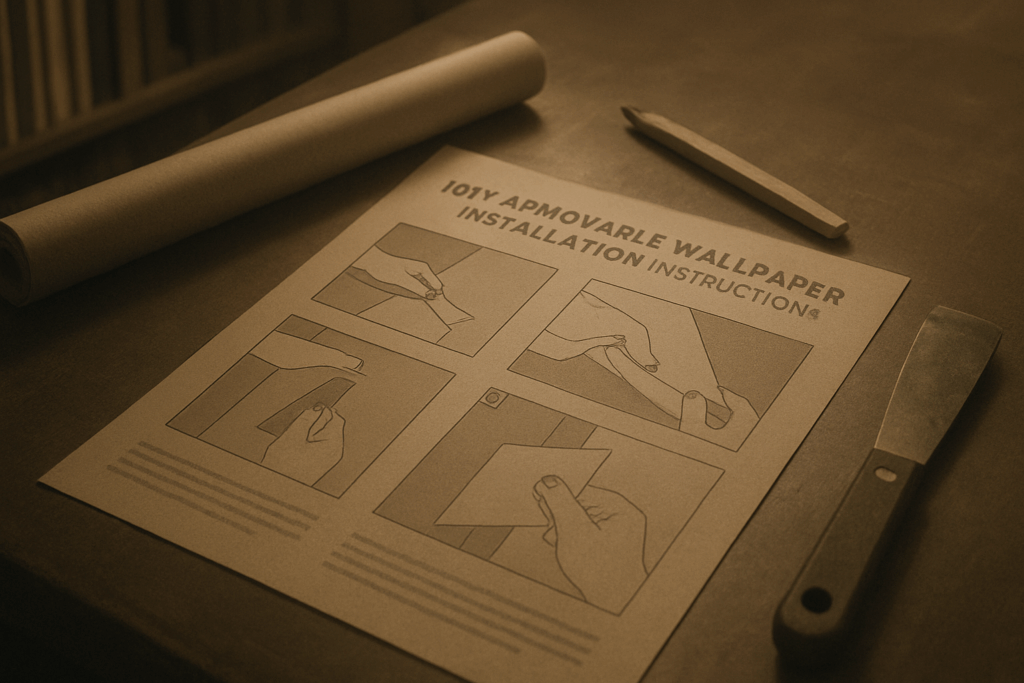
- Wall art panels or self-adhesive wallpaper can create a dramatic look in minutes
- Adjustable LED light strips add color and mood easily
- Removable hooks or shelves let you swap out props as your aesthetic evolves
High Impact, Low Budget
Great visuals don’t have to come with a big price tag. In fact, some of the most effective upgrades are affordable and quick to install.
- Use a blank wall as a canvas for creativity
- Add a ring light or smart lamp to soften shadows
- Stick to a cohesive color palette to keep things polished
Start Small, Transform Big
One focused project—like elevating a single background wall—can make your entire set feel curated and complete. It’s about working smarter, not harder.
- Choose the section of your space that shows up most often on camera
- Do a quick sketch or mood board to visualize layout
- Upgrade in stages as your style evolves and your channel grows
Even the smallest change can signal big things to your audience: you care about quality, and you’re serious about what you do.
Cutting corners isn’t always bad—especially when it comes to saving time. Pre-cut wood simplifies your workspace and cuts down on project delays. You get to skip the measuring and sawing chaos and go straight to assembly. Just make sure your measurements are dead-on before ordering or cutting.
Next, dry fit everything before locking it in. This step catches mistakes before they turn into problems. It’s a rough dress rehearsal that makes final assembly smoother—and less frustrating. Alignment is everything.
Before building anything, lay out every tool you’ll need. Hammer, drill, screws, clamps—whatever the job demands. You don’t want to be mid-way into your workflow and realize your tape measure is buried in the garage. Preparedness keeps momentum steady.
 There is a specific skill involved in explaining something clearly — one that is completely separate from actually knowing the subject. Dorisan Schaeferer has both. They has spent years working with home maintenance hacks in a hands-on capacity, and an equal amount of time figuring out how to translate that experience into writing that people with different backgrounds can actually absorb and use.
Dorisan tends to approach complex subjects — Home Maintenance Hacks, Home and Garden Trends, Interior Design Ideas being good examples — by starting with what the reader already knows, then building outward from there rather than dropping them in the deep end. It sounds like a small thing. In practice it makes a significant difference in whether someone finishes the article or abandons it halfway through. They is also good at knowing when to stop — a surprisingly underrated skill. Some writers bury useful information under so many caveats and qualifications that the point disappears. Dorisan knows where the point is and gets there without too many detours.
The practical effect of all this is that people who read Dorisan's work tend to come away actually capable of doing something with it. Not just vaguely informed — actually capable. For a writer working in home maintenance hacks, that is probably the best possible outcome, and it's the standard Dorisan holds they's own work to.
There is a specific skill involved in explaining something clearly — one that is completely separate from actually knowing the subject. Dorisan Schaeferer has both. They has spent years working with home maintenance hacks in a hands-on capacity, and an equal amount of time figuring out how to translate that experience into writing that people with different backgrounds can actually absorb and use.
Dorisan tends to approach complex subjects — Home Maintenance Hacks, Home and Garden Trends, Interior Design Ideas being good examples — by starting with what the reader already knows, then building outward from there rather than dropping them in the deep end. It sounds like a small thing. In practice it makes a significant difference in whether someone finishes the article or abandons it halfway through. They is also good at knowing when to stop — a surprisingly underrated skill. Some writers bury useful information under so many caveats and qualifications that the point disappears. Dorisan knows where the point is and gets there without too many detours.
The practical effect of all this is that people who read Dorisan's work tend to come away actually capable of doing something with it. Not just vaguely informed — actually capable. For a writer working in home maintenance hacks, that is probably the best possible outcome, and it's the standard Dorisan holds they's own work to.