Introduction
Vlogging didn’t just survive the algorithm tides, platform wars, and audience drift—it adapted. While some creators dropped off or pivoted to other forms of content, vlogging held its ground by evolving. It’s no longer just about filming your day. It’s about packaging your unique voice into content that keeps pace with changing platforms.
In 2024, that pace is picking up. Algorithms are stricter. Audiences are sharper. And the bar for retention, relevance, and authenticity has never been higher. Short-form is still booming, but long-term impact demands clarity and consistency. Tools like AI are making the back-end smoother, but not replacing the need for a real connection.
Creators should care because these changes aren’t optional. If you’re vlogging to grow, keep your ear to the ground. What worked in 2022 won’t carry you forward. But if you’re nimble, focused, and ready to dig into your niche, the space is wide open.
Making a no-sew t-shirt tote is as straightforward as it gets. All you need is an old shirt, a pair of scissors, and about ten minutes. Start by cutting off the sleeves and the neckline to shape the handles. Then, trim the bottom hem straight across. You’ll cut fringe along the bottom edge, then tie each front and back fringe strip together in tight knots. That’s it. No needle. No problem.
For better results, go with cotton shirts that have a bit of stretch and some body — think old concert tees, college gear, or any shirt that’s past its prime but not falling apart.
Use your new tote for groceries, books, or as a reusable bag for the gym or beach. It’s tough enough for everyday use and folds down to practically nothing. Functional, fast, and you didn’t need to thread a single needle.
Old glass jars are more versatile than most people think. Whether it’s a leftover salsa jar or a mason jar that lost its lid, these things can be turned into practical and good-looking home accents with a little effort.
Start with cleaning. Soak jars in warm water with a splash of dish soap and baking soda to remove sticky labels. A razor blade or scrub pad helps with the stubborn ones. For lingering odors, try a vinegar rinse or leave a spoonful of coffee grounds inside overnight.
Now to the fun part: what to do with them. In the bathroom, they make solid storage for cotton swabs, toothbrushes, or bath salts. Drop in a tea light or fairy lights and you’ve got improvised lanterns for patios or shelves. Line a few on a sunny windowsill with soil and herbs—they’re ideal for basil, chives, or mint.
Styling is up to you. You can spray paint the jars, wrap them in twine or fabric, or just leave them clear for a clean, minimal look. However you finish them, they end up useful, personal, and nothing like trash.
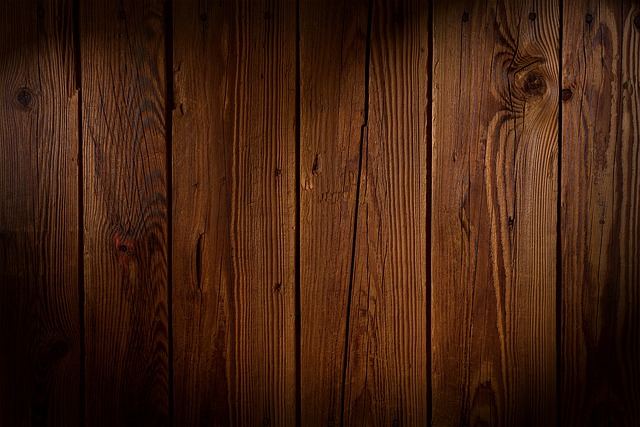
Sanding and sealing are the quiet heroes of any DIY wall panel project. Raw wood might look great on camera, but splinters and warping aren’t so photogenic—or safe. A simple pass with medium-grit sandpaper takes the edge off sharp corners. Sealing with a matte polyurethane or wax not only protects the wood from wear and moisture, it also brings out the grain, adding subtle texture on video.
When it comes to layout, vertical panels add height and draw the eye up, making small filming spaces feel less cramped. Horizontal panels give a room weight, which can ground your visual framing. Some creators even mix layouts on different walls to frame areas like editing setups or sit-down backgrounds.
Mounting can be tricky depending on where you live. Renters will want to look at lightweight options like adhesive strips or temporary brackets. For homeowners, furring strips or direct wall anchors are less of a hassle and more permanent. Either way, always check for studs and mind any wiring behind the wall. It’s not glamorous, but this kind of prep is what separates amateur-looking sets from polished, creator-grade spaces.
Not every old chair or dresser deserves a comeback. The trick is knowing what to look for. Start with structure. Real wood beats particleboard. Dovetail joints, solid frames, and minimal warping are green lights. If it wobbles, check if it’s fixable. Surface scratches? Don’t worry. Deep cracks or water damage? Maybe walk away.
Once you’ve found a piece with potential, the fun begins. Chalk paint is a go-to for many because it’s low-prep and gives a matte, vintage look fast. But traditional paints have their place too, especially when you want a smoother finish or bolder color. Pick your product based on the vibe you’re going for and how much time you want to spend sanding.
Then there’s the upgrade factor. New fabric on a tired seat can flip its entire style. Stenciling adds personality without being loud. And decoupage—yes, it’s still alive—can turn a plain nightstand into something totally unexpected. Restoring furniture doesn’t mean dragging it back to its original form. It means reworking it into something cool, functional, and worth the space it takes up.
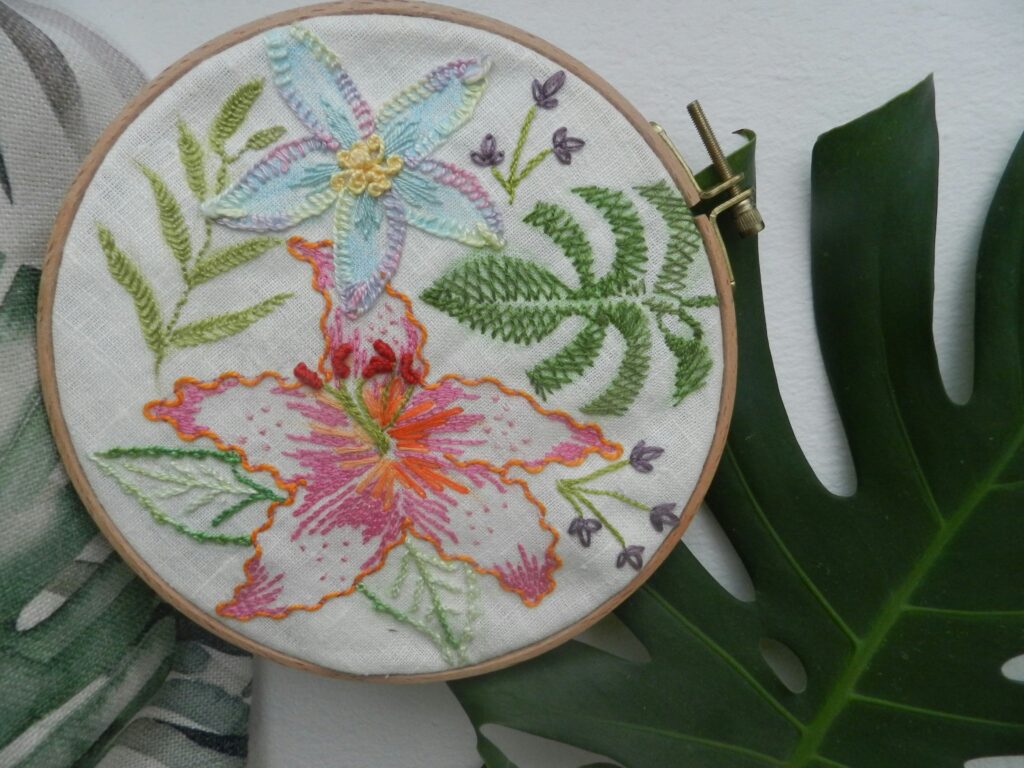
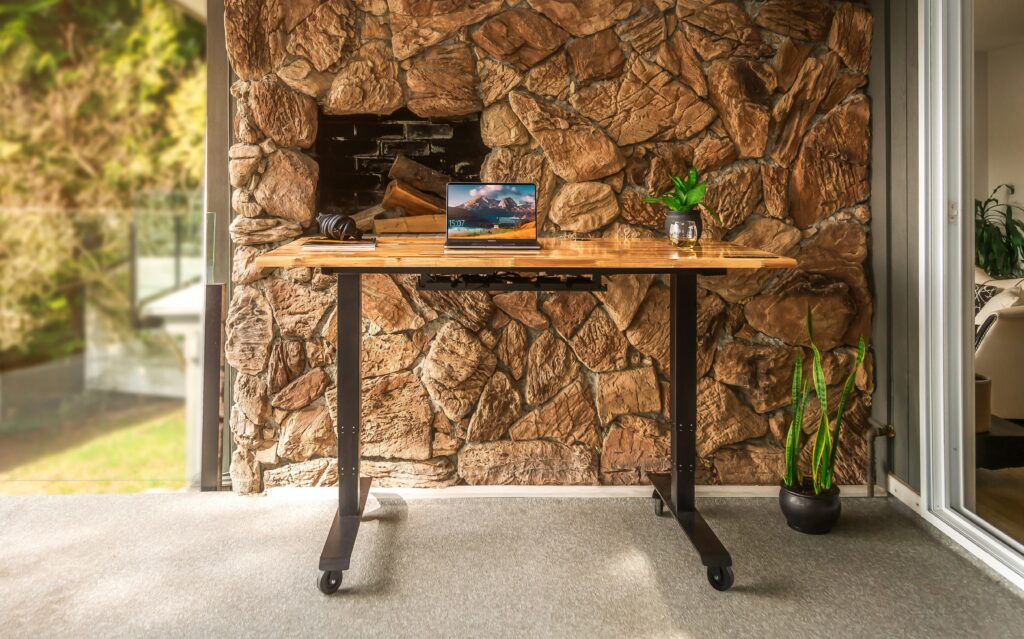
Repurposing leftover materials isn’t just a budget move anymore—it’s become a creative statement. Vlog creators are mixing salvaged wood, scrap fabrics, recycled plastics, and natural elements like dried flowers or raw stone to build sets, film intros, or just add visual texture to their scenes. It’s not about looking perfect. It’s about building something that feels real, intentional, and maybe a little unexpected.
To make it work, think simple layout first. Let materials breathe. A reclaimed table doesn’t need layers of prop-styling—sometimes just a sprig of fresh greenery or an oddly-shaped ceramic piece adds enough contrast. Play with natural light and shadow to let textures pop. Use wide angles to embrace imperfections rather than hiding them. And don’t be afraid to cut in tighter shots that highlight the mix of rough and soft, industrial and organic.
This style tells a bigger story—about sustainability, creativity, and doing more with less. For more ideas, check out this piece on Design Inspiration from Nature.
From Plan to Project: Making Progress That Feels Good
Getting started with a creative project can feel overwhelming, but the key is to simplify the process. From idea to finished piece, small steps can lead to big results if you plan with care and pace yourself.
Choose One Project to Focus On
Start by picking a single project that inspires you the most. This helps narrow your focus and prevents the feeling of being spread too thin.
- Pick something you’re excited about
- Avoid juggling too many creative ideas at once
- Give yourself permission to go deep into one project instead of broad across many
Gather Materials Early
Once your project is chosen, take time to collect everything you’ll need. Planning ahead avoids the frustration of getting interrupted later.
- Make a checklist of supplies
- Organize tools and materials in one place
- Schedule time for prep so you’re not scrambling when inspiration hits
Break It Into Manageable Steps
Big projects feel less intimidating when broken into simple, clear steps. This approach makes it easier to stay consistent with your efforts.
- Divide your project into small daily or weekly goals
- Focus on process over perfection
- Celebrate progress, even if it feels small
Share or Gift Your Finished Work
Part of the joy in making something is being able to share it. Whether gifting it to someone or posting it online, finishing a project is a milestone worth celebrating.
- Consider who might appreciate your creation
- Share your work on social platforms, a blog, or via email
- If you’re gifting it, add a personal note or story behind the project
Completing even one small project from start to finish brings momentum. It builds confidence, reinforces your creative habit, and reminds you that progress is possible—even in small doses.
Common Household Items That Double as Upcycling Tools
You don’t need a full craft store to start upcycling. Chances are, the tools are already sitting around your house. Old butter knives are perfect for spreading glue or smoothing edges. Toothpicks double as mixing sticks or tiny dot applicators for paint and glue. Empty jars hold paint water, stripped screws, or loose nails. Wire hangers? Bend them into custom hooks or storage frames. Scissors can get you halfway into most light-duty cutting jobs, and nail files make decent sandpaper in a pinch.
If you don’t want to buy new gear, you’ve still got options. Packaging foam works as a stamp base. Cardboard can become structural support or even a template. Shower curtain rings can be used as fasteners on fabric projects. Even potato chip bags can become reflective surfaces or waterproof liners, depending on your ambition.
Point is: don’t wait for fancy materials. Use what’s there. Upcycling isn’t about polish, it’s about purpose.
Starting simple isn’t just how you begin — it’s often how you win. The best vloggers in 2024 know this. No need for eight-camera setups or thousand-dollar gear hauls. Viewers care less about polish and more about connection. You can shoot on your phone, cut it clean, and get it out. Focus beats flash.
Upcycling content isn’t a trend. It’s a mindset. Smart creators are revisiting old topics, reworking unused footage, and spinning gold from scraps. That lost clip from last summer? It might fit your new series. That vlog that didn’t pop in 2022? A tighter edit and fresh title could give it new life.
It helps to go slow. Quality grows in the edit, not the rush. Staying inspired means giving yourself space to see what others miss. Trust your eye. Trust your story. Simple doesn’t mean small — it means sharp.
 Quenric Drovayne writes the kind of home and garden trends content that people actually send to each other. Not because it's flashy or controversial, but because it's the sort of thing where you read it and immediately think of three people who need to see it. Quenric has a talent for identifying the questions that a lot of people have but haven't quite figured out how to articulate yet — and then answering them properly.
They covers a lot of ground: Home and Garden Trends, DIY Home Projects, Interior Design Ideas, and plenty of adjacent territory that doesn't always get treated with the same seriousness. The consistency across all of it is a certain kind of respect for the reader. Quenric doesn't assume people are stupid, and they doesn't assume they know everything either. They writes for someone who is genuinely trying to figure something out — because that's usually who's actually reading. That assumption shapes everything from how they structures an explanation to how much background they includes before getting to the point.
Beyond the practical stuff, there's something in Quenric's writing that reflects a real investment in the subject — not performed enthusiasm, but the kind of sustained interest that produces insight over time. They has been paying attention to home and garden trends long enough that they notices things a more casual observer would miss. That depth shows up in the work in ways that are hard to fake.
Quenric Drovayne writes the kind of home and garden trends content that people actually send to each other. Not because it's flashy or controversial, but because it's the sort of thing where you read it and immediately think of three people who need to see it. Quenric has a talent for identifying the questions that a lot of people have but haven't quite figured out how to articulate yet — and then answering them properly.
They covers a lot of ground: Home and Garden Trends, DIY Home Projects, Interior Design Ideas, and plenty of adjacent territory that doesn't always get treated with the same seriousness. The consistency across all of it is a certain kind of respect for the reader. Quenric doesn't assume people are stupid, and they doesn't assume they know everything either. They writes for someone who is genuinely trying to figure something out — because that's usually who's actually reading. That assumption shapes everything from how they structures an explanation to how much background they includes before getting to the point.
Beyond the practical stuff, there's something in Quenric's writing that reflects a real investment in the subject — not performed enthusiasm, but the kind of sustained interest that produces insight over time. They has been paying attention to home and garden trends long enough that they notices things a more casual observer would miss. That depth shows up in the work in ways that are hard to fake.