Step 4: Prep Your Wallpaper Panels
Before applying wallpaper, organizing and preparing your panels makes the process smoother and more precise. Here’s how to get started:
Measure the Wall Accurately
To ensure proper coverage:
- Measure the full height of the wall from baseboard to ceiling
- Add an extra 2 inches to your measurement for trimming and minor adjustments
This gives you a small margin of error, which is helpful for walls that aren’t perfectly level.
Match Patterns Before Cutting
If your wallpaper features a repeating design, it’s crucial to align panels correctly before cutting:
- Inspect the roll for the pattern repeat
- Match the design edge-to-edge with the previous panel before making your cut
- Adjust as needed to maintain a seamless appearance across your wall
Taking time here will help avoid jarring mismatches once the wallpaper is hung.
Pre-Cut All Panels
Pre-cutting your wallpaper will keep your project organized and efficient:
- Use your measurements to cut all required panels
- Label them in order so you know what goes where
- Stack them flat and keep them in a clean, dry space until ready to hang
Having all pieces ready avoids interruptions and lets you focus on application instead of pausing to cut.
Prepare Your Walls the Right Way
Before you even think about applying wallpaper or a wall mural, proper preparation is essential. A clean, smooth foundation ensures that your wallpaper adheres correctly and looks professional.
Step 1: Clean Thoroughly
Dust, grease, and moisture can all interfere with adhesion. Tackling this first will save you headaches later.
- Remove dust using a microfiber cloth or vacuum with a brush attachment
- Use a degreaser on kitchen or bathroom walls
- Wipe down surfaces with a damp cloth, then dry completely
Step 2: Let the Walls Dry
Never apply wallpaper to damp surfaces. Moisture behind the paper can lead to bubbles, peeling, or mold.
- Allow 24 hours for drying in humid conditions
- Use a fan or dehumidifier to speed up the process if needed
Step 3: Patch and Smooth
Imperfections in the wall will show through your wallpaper. Fixing them now equals a better end result.
- Fill in nail holes or cracks with wall filler
- Sand down any bumps or residue for an even texture
- Wipe away any sanding dust before moving forward
Step 4 (Optional): Prime with a Base Color
If your wall color is dramatically different from the wallpaper, consider applying a base coat in a neutral color.
- Helps the pattern appear more true to color
- Prevents dark or bright paint from showing through
Take your time on prep. The smoother the start, the better the finish.
Vlogging hasn’t just survived the last few years of nonstop change—it’s adapted, evolved, and in many ways, gotten stronger. Despite algorithms, app wars, and attention span chaos, creators have kept showing up with cameras in hand, building trust and community one upload at a time. Now, in 2024, the rules are shifting again.
Shorter attention spans aren’t going anywhere, but audiences are asking for more than quick edits and flashy hooks. They want relevance. They want personal. And platforms are responding by rewarding creators who can deliver both in spades. The focus is moving toward value, consistency, and niche expertise. If you’re a vlogger treating your channel like a brand, not just a hobby, this is your moment.
Why care? Because this year isn’t about doing more—it’s about doing it smarter. Your strategy needs to match the speed and direction of the platforms you’re building on. The creators who win this year will be the ones who adapt fast and stay honest.
If you’re gearing up to hang wallpaper, a little prep goes a long way. Start with the wallpaper itself. Know your square footage and grab more than you think you’ll need. Mistakes happen, patterns need matching, and running out mid-job is a headache.
Next, you’ll want a smoothing tool or even just a plastic card to press out bubbles and get clean contact with the wall. A sharp craft knife or utility blade is also non-negotiable for trimming edges and cutting around light switches or outlets. A level or measuring tape will help keep your lines sharp and straight—eyeballing it usually ends in regret. And unless you’re reaching every corner standing flat-footed, have a step stool or ladder close by.
Keep it simple. Know your tools. Get it done right.
Start from the top corner. Left or right doesn’t matter as long as you stick with it—consistency keeps things clean. Don’t peel the whole backing at once. Pull a few inches at a time so you stay in control.
Line up the edge first. Then press from the top down, smoothing as you go to push out any bubbles before they set. Use your smoothing tool often. It’ll save you from trying to fix wrinkles later.
Once the section is secure, trim off extra material cleanly at the baseboards and ceiling using a sharp blade. Take your time. A sloppy edge can ruin the whole panel.
When adding new panels, alignment is key. Match every pattern carefully so the transition looks seamless. Measure twice, press once. That’s how you keep it tight.
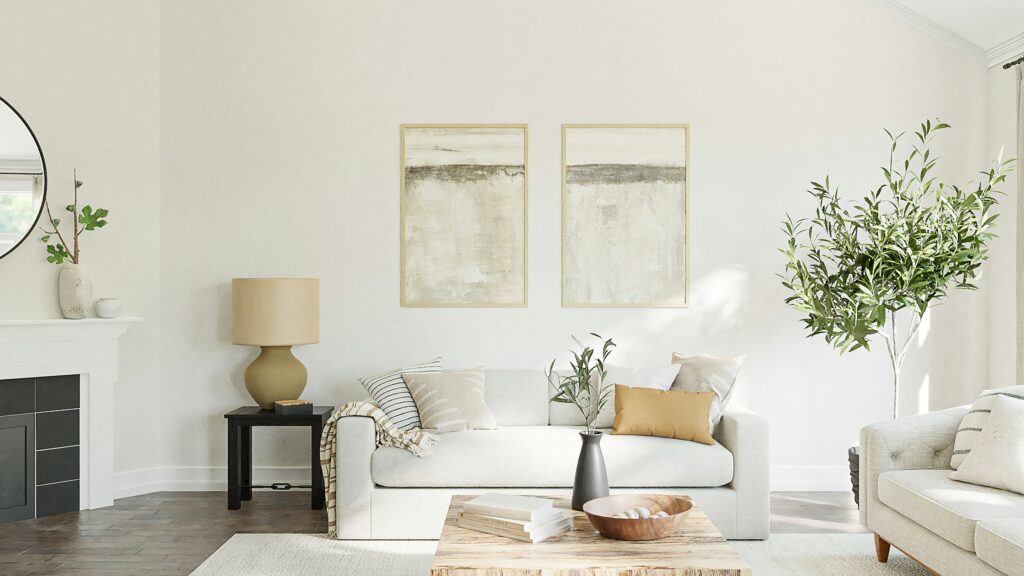
Wallpapers can elevate a vlog set or shoot space fast—but sloppy application ruins the effect just as quickly. First rule: don’t rush prep. Walls need to be clean, smooth, and dry. Ignore that, and no amount of expensive paper will save your backdrop.
Next, patterns matter. Not aligning them properly creates a distracted, uneven look on camera. It takes a few extra minutes to line up repeats, but it’s visual cohesion that keeps viewers tuned in.
Overstretching the wallpaper is another common mistake. It might look tight at first, but as it contracts over time, seams pull apart and gaps show. Stretch less, smooth more.
And finally, sharp tools aren’t optional. A dull blade frays edges, catches on the surface, and tears designs. Keep a fresh blade nearby and don’t hesitate to swap it out.
If you’re putting in the time to create a pro space, get the basics right. The camera sees everything.
Use a level or laser level to make sure your wallpaper lines stay straight. Don’t trust your walls to be perfectly square—they rarely are. Once you start applying the wallpaper, smooth it diagonally from the center out. This pushes out any trapped air and helps prevent bubbles.
After the wallpaper is up, go over the seams with a roller. It locks the edges down and helps the adhesive grip better. Finally, give it time. Wait at least 24 to 48 hours before allowing humidity or steam anywhere near it. That’s especially important in bathrooms. Rushing this step can undo a lot of good work.
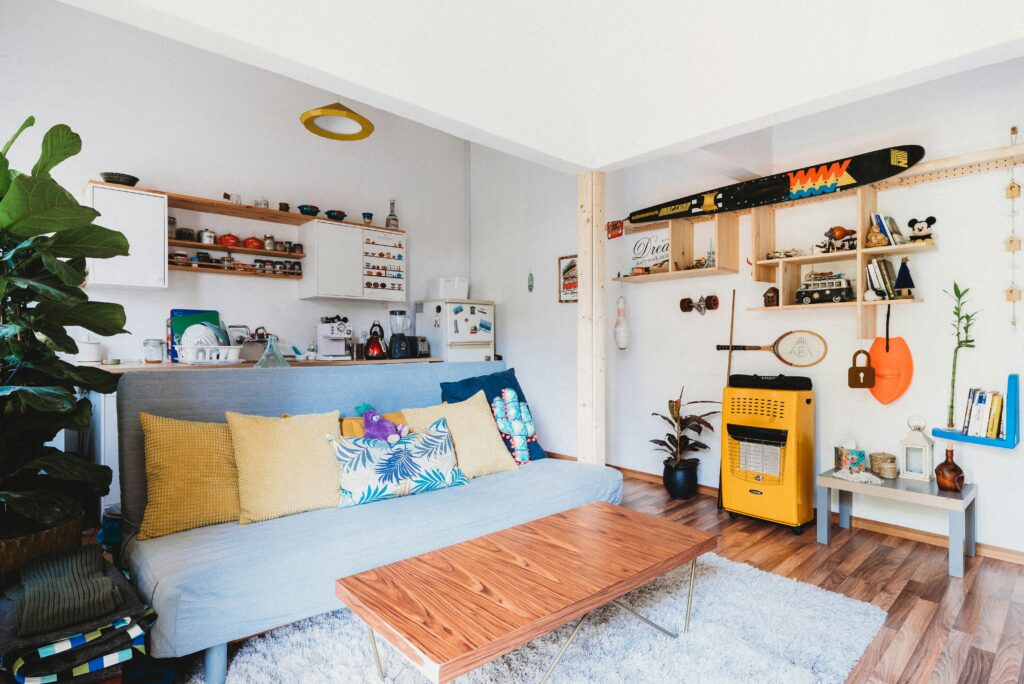
Once you’ve nailed your new wall setup, take it a step further with a DIY feature that actually makes the space yours. A custom headboard is a solid choice. It doesn’t need to be complicated. A slab of reclaimed wood, some fabric and foam, or even a set of painted panels can do the trick. The goal is impact without fuss. Plus, building something from scratch adds personality that mass-produced furniture just doesn’t have. Not sure where to start? Check out these DIY Headboard Ideas to Elevate Your Bedroom.
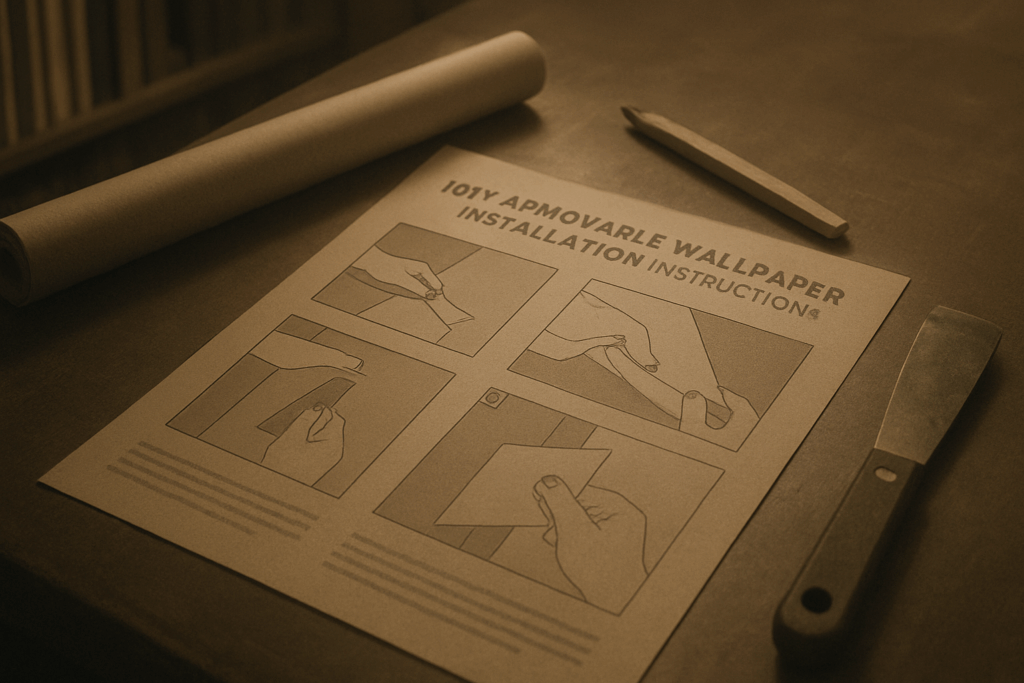
Peel-and-stick wallpaper has opened the world of design to beginners. No need for glue, paste, or calling in a pro. But don’t mistake it for foolproof. Getting it right means slowing down, measuring twice, and pressing every inch with care.
Start small. A single accent wall or nook is enough to shift the vibe of an entire space. Take your time. Set aside half a day, even if the job looks minor. Details like corners, seams, and trimming around outlets are where things can go south quickly.
Messed up a panel? Good news—it’s not permanent. Peel it off and try again. That’s the real win with this stuff: second chances come built in. The trick is not to rush. Precision now saves headaches later.
 Ask Susana Foleyesters how they got into outdoor living tips and you'll probably get a longer answer than you expected. The short version: Susana started doing it, got genuinely hooked, and at some point realized they had accumulated enough hard-won knowledge that it would be a waste not to share it. So they started writing.
What makes Susana worth reading is that they skips the obvious stuff. Nobody needs another surface-level take on Outdoor Living Tips, DIY Home Projects, Home and Garden Trends. What readers actually want is the nuance — the part that only becomes clear after you've made a few mistakes and figured out why. That's the territory Susana operates in. The writing is direct, occasionally blunt, and always built around what's actually true rather than what sounds good in an article. They has little patience for filler, which means they's pieces tend to be denser with real information than the average post on the same subject.
Susana doesn't write to impress anyone. They writes because they has things to say that they genuinely thinks people should hear. That motivation — basic as it sounds — produces something noticeably different from content written for clicks or word count. Readers pick up on it. The comments on Susana's work tend to reflect that.
Ask Susana Foleyesters how they got into outdoor living tips and you'll probably get a longer answer than you expected. The short version: Susana started doing it, got genuinely hooked, and at some point realized they had accumulated enough hard-won knowledge that it would be a waste not to share it. So they started writing.
What makes Susana worth reading is that they skips the obvious stuff. Nobody needs another surface-level take on Outdoor Living Tips, DIY Home Projects, Home and Garden Trends. What readers actually want is the nuance — the part that only becomes clear after you've made a few mistakes and figured out why. That's the territory Susana operates in. The writing is direct, occasionally blunt, and always built around what's actually true rather than what sounds good in an article. They has little patience for filler, which means they's pieces tend to be denser with real information than the average post on the same subject.
Susana doesn't write to impress anyone. They writes because they has things to say that they genuinely thinks people should hear. That motivation — basic as it sounds — produces something noticeably different from content written for clicks or word count. Readers pick up on it. The comments on Susana's work tend to reflect that.