Kitchen vs. Bathroom: Different Culprits, Same Headache
Drain clogs might look the same on the surface—a slow drain, standing water, or that dreaded gurgling noise—but the cause often depends on the room.
Common Causes by Location
Kitchen Drains:
- Grease buildup from cooking oils and fats
- Food scraps that sneak past the strainer
- Soap residue forming sticky layers with organic material
Bathroom Drains:
- Hair collecting in shower or sink traps
- Soap scum and toothpaste forming a sticky mess
- Mineral buildup from hard water
Recognizing what’s likely clogging your kitchen versus your bathroom can help you choose the right type of fix.
DIY Fixes That Get Results
Before you call a plumber, there are a few quick, low-cost methods you can try yourself.
Boiling Water
- Pour a pot of boiling water down the drain in stages
- Helps break down grease, soap, and light buildup
- Best for maintenance or minor clogs
Baking Soda + Vinegar Method
- Pour 1/2 cup of baking soda into the drain
- Follow with 1/2 cup of white vinegar
- Cover the drain and let it fizz for 15–30 minutes
- Rinse with boiling water to flush remaining debris
This natural combo can work well for organic clogs in both kitchen and bathroom sinks.
Keep Your Drains Flowing
A few prevention habits can go a long way toward avoiding repeat clogs.
- Use drain strainers to catch food scraps and hair
- Run hot water down the drain after each use to prevent buildup
- Avoid pouring grease or oil down the kitchen sink
- Clean drains monthly with baking soda and vinegar
Consistency beats costly repairs. A little care now saves you a headache later.
Introduction
Vlogging didn’t just survive the chaos of the past few years—it adapted. During algorithm shake-ups, changing viewer habits, and the rise and fall of new platforms, creators kept pressing record. Some pivoted fast, others doubled down on what worked. Either way, the format held its ground.
Now 2024 is here, and the shift is real. From smarter algorithms to the surge in AI tools, the rules of the game are tightening. But it’s not just about the tech. Audiences are also evolving. They want value, connection, and consistency. Creators who can blend storytelling with speed are rising above the noise. In short: attention is earned, not handed out.
What’s coming this year isn’t hype. It’s a new operating system for content. And for creators who want to keep growing, now’s the time to adapt.
Dripping faucets are more than just annoying. They rack up your water bill and wear down your patience. Nine times out of ten, the culprit is a worn-out washer or a faulty seal. These tiny components sit inside your faucet and, over time, they crack, shrink, or dislodge. Once that happens, water starts slipping through—drip by drip.
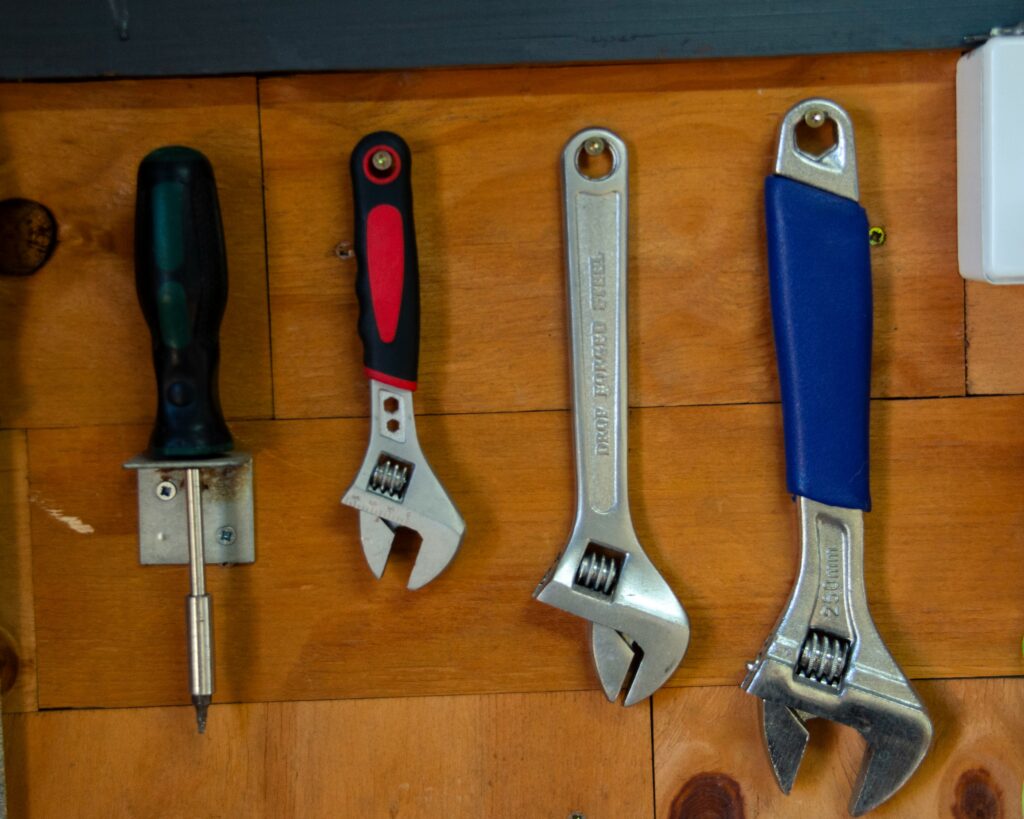
Here’s the quick fix. First, turn off your water supply. Open the faucet to drain out any remaining water. Use a wrench or screwdriver to take apart the handle and expose the washer. Swap out the bad washer with a new one of the same size—most hardware stores stock universal kits. Reassemble the faucet and turn the water back on. Whole process? Under 10 minutes.
If that doesn’t solve it, or if the leak is coming from deeper inside—like the pipe joint or valve seat—it’s time to call in a plumber. Better to spend a little now than deal with water damage later.
Leak Repair Basics: Quick Fixes vs. Long-Term Solutions
Plumbing leaks rarely happen at a convenient time. Whether it’s a dripping faucet or a pipe that’s leaving puddles under the sink, the right response depends on how fast you can act and what tools you have on hand. Here’s how to approach leak repair from immediate action to long-term solutions.
Step 1: Find the Source Fast
Before anything else, identify where the leak is coming from. Focus on the following common areas:
- Under sinks (look near joints or valves)
- Faucets and showerheads
- Toilet bases and tank connections
- Exposed pipes in basements or laundry rooms
Tip: Dry the area completely, then check back a few minutes later to trace drips more accurately.
Step 2: Apply a Temporary Patch
Once you’ve found the leak, you may need a short-term solution until a permanent fix is possible.
Fast Patch Options:
- Use plumbing tape to seal threaded pipe joints
- Wrap a rubber pad and secure it with hose clamps over pinhole leaks
- Epoxy putty can temporarily plug cracks or gaps in some metal or plastic pipes
- Shut off water valves to isolate the affected section
Temporary fixes can slow or stop leaking, but they are not meant to last. They simply buy you time.
Step 3: Plan for Long-Term Repairs
Once the immediate issue is under control, it’s time to consider a more durable solution.
Look into:
- Replacing worn gaskets, washers, or drywall-damaged areas
- Replacing corroded pipes or aging fittings
- Installing new shut-off valves or trap assemblies
- Upgrading connectors to compression or push-fit fittings
When to Call a Professional
Some issues are beyond the DIY level. You should contact a certified plumber if:
- The leak is behind a wall or under flooring
- There’s recurring water damage or mold
- Water pressure has significantly dropped
- You’re dealing with old plumbing systems that may need full inspection
Being proactive can save time, money, and frustration. Know when to patch—and when to pass the wrench to someone who’s got the right training.
A toilet that won’t stop running usually comes down to two culprits: a worn flapper valve or a float that’s out of whack. The flapper valve controls the release of water into the bowl. If it’s deteriorated or doesn’t seal correctly, water leaks slowly but constantly from the tank. The float, on the other hand, tells the fill valve when to stop letting water in. If it sits too low or high, the tank might never hit the right level, keeping the flow going.
Luckily, some quick tweaks can fix things. Repositioning the float so it’s level with the designated water line will usually shut off the fill valve properly. If the flapper valve looks warped, brittle, or recessed, swap it out—it’s cheap and easy. Make sure it’s the right size and type for your toilet model.
Still running after all that? Then it’s time to replace the internal guts. A new fill valve and flapper assembly kit will give the system a clean slate. Basic kits are affordable and often more effective than patchwork repairs.
Low water pressure at the faucet or shower can drive anyone nuts. The first step is simple: unscrew the aerator at the tip of the faucet. Sediment and mineral buildup often clog this tiny screen, and a good soak in vinegar or a quick brush is enough to restore normal flow.
Still weak after that? It could be a hidden leak. Look under sinks and behind walls for damp spots or mildew smell. A slow drip you can’t see is still a problem you’ll eventually feel—in your water bill and daily routines.
If everything’s clean and leak-free, your pressure regulator might be the silent culprit. These are usually installed where the main line enters the home. If it’s faulty or misadjusted, flow drops everywhere. You’ll need a plumber for adjustment or replacement, but it’s worth checking if low pressure is affecting multiple fixtures. Don’t just tolerate trickles—track down what’s holding your water back.
Preventing Leaks Starts With Smarter Plumbing Habits
Every homeowner dreads water damage, yet many plumbing issues are avoidable with simple habits and modern tools. Staying proactive can help catch small issues before they become expensive emergencies.
Stay Ahead With Routine Checks
Small, consistent maintenance goes a long way in protecting your home from leaks and flooding.
- Inspect under sinks and around appliances for signs of moisture or mold
- Check for rust, corrosion, or mineral buildup around valves and joints
- Make sure hoses and seals are secure on washing machines and dishwashers
Regular visual inspections can catch the warning signs of minor leaks before they cause major damage.
Invest in Smart, Low-Cost Upgrades
Technology continues to simplify home protection. A few inexpensive additions can help prevent or detect problems early.
- Mesh strainers: Prevent clogs before they start and protect pipes from debris
- Leak detectors: Send alerts to your phone the moment they sense water
- Automatic shut-off sensors: Cut off water flow instantly when a leak is detected
These smart upgrades are easy to install and provide peace of mind, especially in areas prone to plumbing issues.
Know Your Shutoff—Before You Need It
In an emergency, every second counts. Make sure everyone in the household knows how to quickly stop the water.
- Locate your main water shutoff valve now, not later
- Make sure it is accessible and easy to turn
- Test it periodically to ensure functionality
Knowledge is your first line of defense. Being prepared to act fast can be the difference between a quick fix and a costly repair.
No hot water? Start simple. Check the thermostat setting on your water heater to make sure it hasn’t been accidentally lowered. Next, hit the reset button—most units have one, and it’s a quick fix if something tripped the system. Still cold? Sediment buildup could be the silent culprit. Over time, minerals from hard water collect at the bottom of the tank and insulate the heating elements, making them less effective.
A little maintenance goes a long way. Flushing your tank once or twice a year helps reduce sediment and keeps everything running efficiently. Also, inspect the anode rod annually—it attracts corrosive elements and extends the tank’s life.
Now if your water heater sounds like it’s boiling rocks, don’t ignore it. That rumbling noise is usually trapped steam beneath a thick layer of sediment. It strains your heater, wastes energy, and can damage the tank. Your move? Turn the unit off, let it cool, and flush the tank thoroughly. If noise continues, it might be time to call in a pro or consider a replacement.
Plumbing issues are one of the leading culprits behind mold and mildew in homes. Leaky pipes, slow drains, and even minor under-sink drips can quietly introduce moisture into walls and floors. In spaces that are already prone to dampness—like bathrooms, basements, or laundry areas—this added humidity creates a mold-friendly environment fast.
Prevention starts with vigilance. Check under sinks regularly. Look for staining, warping, or musty smells. Fix leaks early, before they create serious water damage. Good airflow helps too. Run fans after showers. Keep doors open in tight utility closets. Use a dehumidifier if you live in a humid climate or notice condensation buildup.
Keeping plumbing tight and spaces dry doesn’t have to be complicated. It just has to be consistent. For more practical ideas, see Tips for Preventing Mold and Mildew in Humid Spaces.
Plumbing issues don’t wait for the perfect time to show up, and ignoring small problems can lead to expensive repairs fast. A slow drip today can become water damage tomorrow. Catching things early—like a loose fitting or a clogged drain—saves you time, money, and a lot of stress.
Knowing the basics makes a big difference. You don’t have to be a pro, but understanding how to shut off your water, spot warning signs, or use a plunger properly puts you in control. It’s the difference between a ten-dollar fix and a thousand-dollar mess.
Still, if something seems off and you’re not sure what to do, don’t guess your way into a disaster. Call a licensed plumber when it’s beyond your scope. But stay curious. The more informed you are, the less likely you are to be blindsided by something you could’ve caught early.
 Ask Susana Foleyesters how they got into outdoor living tips and you'll probably get a longer answer than you expected. The short version: Susana started doing it, got genuinely hooked, and at some point realized they had accumulated enough hard-won knowledge that it would be a waste not to share it. So they started writing.
What makes Susana worth reading is that they skips the obvious stuff. Nobody needs another surface-level take on Outdoor Living Tips, DIY Home Projects, Home and Garden Trends. What readers actually want is the nuance — the part that only becomes clear after you've made a few mistakes and figured out why. That's the territory Susana operates in. The writing is direct, occasionally blunt, and always built around what's actually true rather than what sounds good in an article. They has little patience for filler, which means they's pieces tend to be denser with real information than the average post on the same subject.
Susana doesn't write to impress anyone. They writes because they has things to say that they genuinely thinks people should hear. That motivation — basic as it sounds — produces something noticeably different from content written for clicks or word count. Readers pick up on it. The comments on Susana's work tend to reflect that.
Ask Susana Foleyesters how they got into outdoor living tips and you'll probably get a longer answer than you expected. The short version: Susana started doing it, got genuinely hooked, and at some point realized they had accumulated enough hard-won knowledge that it would be a waste not to share it. So they started writing.
What makes Susana worth reading is that they skips the obvious stuff. Nobody needs another surface-level take on Outdoor Living Tips, DIY Home Projects, Home and Garden Trends. What readers actually want is the nuance — the part that only becomes clear after you've made a few mistakes and figured out why. That's the territory Susana operates in. The writing is direct, occasionally blunt, and always built around what's actually true rather than what sounds good in an article. They has little patience for filler, which means they's pieces tend to be denser with real information than the average post on the same subject.
Susana doesn't write to impress anyone. They writes because they has things to say that they genuinely thinks people should hear. That motivation — basic as it sounds — produces something noticeably different from content written for clicks or word count. Readers pick up on it. The comments on Susana's work tend to reflect that.