Introduction
Vlogging didn’t just survive the last few years of digital chaos — it adapted. Creators weathered algorithm shifts, audience fatigue, and platform pivots by staying agile. While trends came and went, one thing held steady: the power of showing up, camera in hand, with real stories and sharp takes.
But 2024 isn’t about more of the same. The rules are changing, and fast. Short content is getting smarter. AI is becoming your co-editor. And platforms like YouTube are quietly rewriting what gets seen and what doesn’t. For creators, it’s not about chasing every trend. It’s about understanding what actually gets results — and owning the space you’re in.
Whether you’re just launching or looking to level up, what you do in 2024 matters. The audience is there. The tools are better. But staying relevant means playing smarter.
Forget ripping out walls or redoing an entire room. Floating shelves offer a quick win. In just a couple of hours, you can turn a blank stretch of wall into both a design feature and useful storage. They work anywhere—kitchen, office, living room—and instantly make a space feel more intentional.
Materials are simple: wood boards, brackets (hidden ones if you want that clean ‘floating’ look), wall anchors, screws, a level, and a drill. From start to finish, the whole process can take under two hours, even if you’re a DIY beginner. Measure twice, drill once, and you’ll be fine.
Once they’re up, the real fun begins. Style with intention. Mix plant textures with stacked books and framed prints. Keep the color story tight and the clutter low. Three to five objects per shelf is a good rule of thumb.
Want a full step-by-step? Check out the full guide here: How to Build Floating Shelves in Under 2 Hours
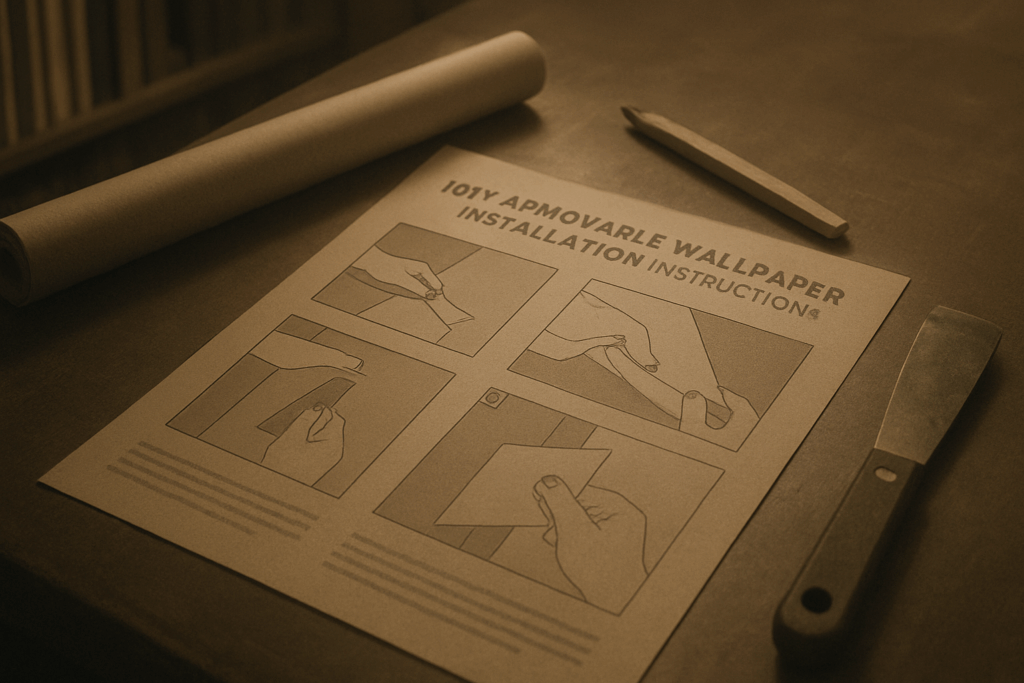
Giving a second life to an old coffee table or sideboard doesn’t take much. A bit of vision, some prep, and the right materials go a long way. Start with the basics: clean the surface thoroughly and give it a good scuff with sandpaper. Even if the finish looks worn, this step helps paint or adhesive stick better.
Now, pick your weapon: paint or peel-and-stick wallpaper. Go with paint if the piece has curves, edges, or if you want a smoother, uniform look. Wallpaper works best on flat, simple surfaces and can give you bold patterns with zero brushwork. It’s faster, but less flexible if you’re covering something detailed.
When it comes to color, think in layers. If your room’s mostly neutral, a splash of deep green or navy can add warmth without screaming for attention. For brighter spaces, earthy tones or soft pastels keep things grounded. Either way, color is a signal — match it with your room’s energy, not just its palette.
Big wall art doesn’t have to mean big money. You can create oversized, statement-making pieces for under $40 with a few basic materials and a little creativity.
What you’ll need: a large canvas (look for sales or thrift stores), painter’s tape, and interior paint or acrylics in a few complementary colors. That’s it. You don’t need art school or fancy brushes.
Start simple. Tape clean lines across the canvas and block out bold shapes. Paint inside them using your chosen palette. Abstract designs are your friend here — tap into minimal color blocking, organic shapes, or imperfect symmetry. The simpler the design, the more expensive it tends to look.
To finish it off, frame it for less than $20. Grab some wood trim from the hardware store and cut it to fit the canvas edges. Stain it neutral or black, nail or glue it in place, and you’re done.
This isn’t about fooling anyone — it’s about bringing personality into a space without draining your wallet.
Overhead lights are harsh, flat, and unflattering. If you’re vlogging in your room or any lived-in space, it’s time to turn them off and rethink your lighting setup. Layered lighting is where the magic happens. Think soft lamps, bounce lights, and maybe one key light to add shape to your face and depth to your background.
Don’t worry about breaking the bank. Start with what you have. Try a thrifted lamp or grab a basic one from a hardware store and swap in a warm bulb. You can cover the shade with textured fabric, repaint a base, or even tilt a fixture to bounce light off a white wall. Small changes. Big upgrade.
Want more control? Install a budget dimmer or a smart plug that can make any old lamp suddenly adjustable with your phone. It’s a simple fix that lets you tweak your vibe anytime—without a dozen pieces of gear. Good lighting doesn’t have to be fancy. It just has to be intentional.
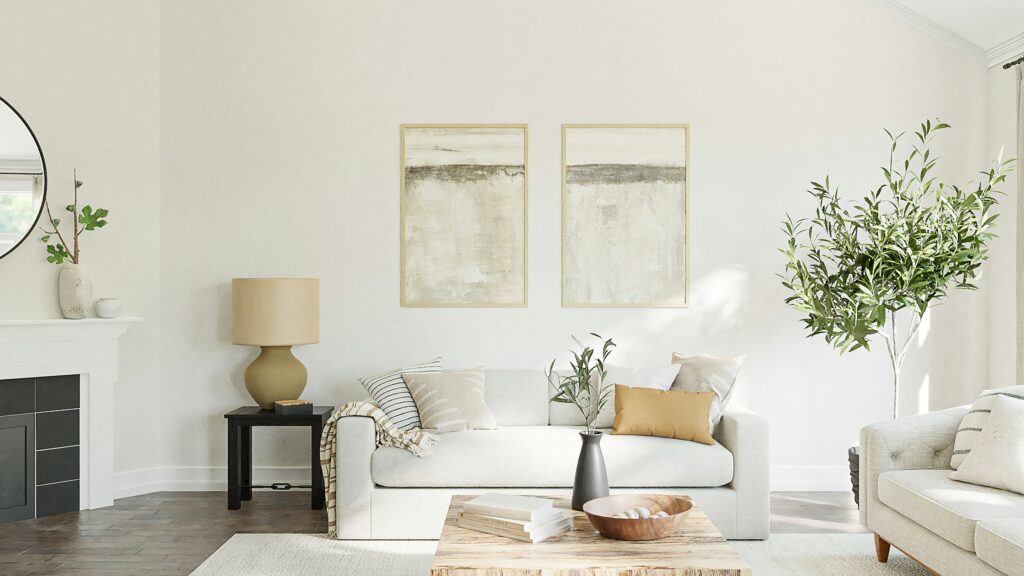
Sometimes, one wall is all it takes. A bold accent wall can flip the whole vibe of a room without a full makeover. Texture, tone, contrast—done right, it pulls focus and creates mood without shouting.
Start by picking your wall wisely. Look for the natural focal point. Maybe it’s behind the bed, maybe the wall you see first when you walk in. Avoid walls with too many cutouts or windows—they compete with the impact.
Next comes material. Paint is still the fastest way to transform. Color blocking works great for small spaces—break it into geometric shapes or solid bands. Stripes give order and rhythm. A soft ombré blends moods together and can stretch a ceiling visually.
Not feeling the paint route? Peel-and-stick panels are having a moment. Wood slats add warmth and structure. Faux stone brings drama without the weight. Wallpaper is back too—especially bold prints or textured neutrals. Bonus: Most of it’s renter-friendly, easy to switch out when your style shifts.
One wall. Big change. Minimal effort.
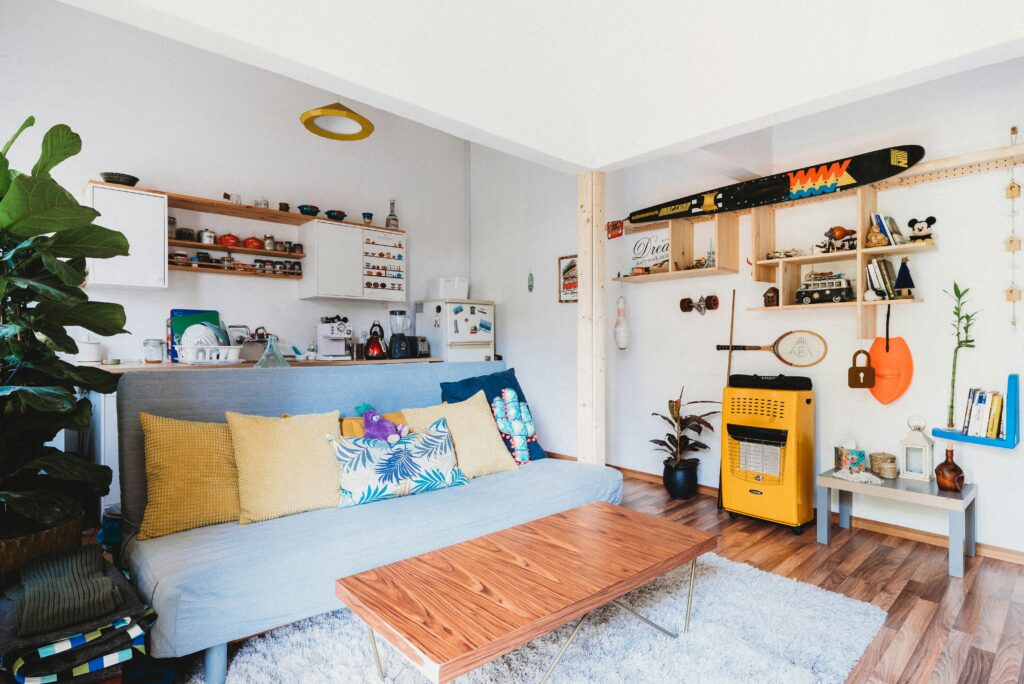
Small spaces work best when they have a sense of purpose in every corner. In studio apartments or open-plan layouts, rugs are the easiest way to give visual borders to different zones. A well-placed rug under your couch instantly says “living room” even if you’re five feet from your bed. Same goes for a durable mat under a small dining area or workspace.
Feeling like the vibe is stale? You don’t need to rework the whole place. Swap in some new throw pillows or switch out your curtains. Even one or two bold accents—like a trailing plant in the corner or a different lamp—can make it feel like an upgrade without the cash burn.
Before adding anything new, though, do a quick declutter. Be honest about what’s collecting dust. If you’re clearing space for the new, something’s got to go. Minimal doesn’t have to mean empty—it just has to mean intentional.
You don’t need a contractor or a crazy budget to level up your space. All it takes is a solid weekend plan, a clear goal, and the willingness to just start. Maybe it’s installing better lighting for your shooting corner or reorganizing your workspace for better flow. These can feel small, but the impact adds up fast.
The key is picking one project and keeping it manageable. No need to over-engineer it. Knock out one upgrade, see how it feels, and use that momentum to fuel the next. Small wins build confidence. And before long, your setup matches your ambition.
 There is a specific skill involved in explaining something clearly — one that is completely separate from actually knowing the subject. Dorisan Schaeferer has both. They has spent years working with home maintenance hacks in a hands-on capacity, and an equal amount of time figuring out how to translate that experience into writing that people with different backgrounds can actually absorb and use.
Dorisan tends to approach complex subjects — Home Maintenance Hacks, Home and Garden Trends, Interior Design Ideas being good examples — by starting with what the reader already knows, then building outward from there rather than dropping them in the deep end. It sounds like a small thing. In practice it makes a significant difference in whether someone finishes the article or abandons it halfway through. They is also good at knowing when to stop — a surprisingly underrated skill. Some writers bury useful information under so many caveats and qualifications that the point disappears. Dorisan knows where the point is and gets there without too many detours.
The practical effect of all this is that people who read Dorisan's work tend to come away actually capable of doing something with it. Not just vaguely informed — actually capable. For a writer working in home maintenance hacks, that is probably the best possible outcome, and it's the standard Dorisan holds they's own work to.
There is a specific skill involved in explaining something clearly — one that is completely separate from actually knowing the subject. Dorisan Schaeferer has both. They has spent years working with home maintenance hacks in a hands-on capacity, and an equal amount of time figuring out how to translate that experience into writing that people with different backgrounds can actually absorb and use.
Dorisan tends to approach complex subjects — Home Maintenance Hacks, Home and Garden Trends, Interior Design Ideas being good examples — by starting with what the reader already knows, then building outward from there rather than dropping them in the deep end. It sounds like a small thing. In practice it makes a significant difference in whether someone finishes the article or abandons it halfway through. They is also good at knowing when to stop — a surprisingly underrated skill. Some writers bury useful information under so many caveats and qualifications that the point disappears. Dorisan knows where the point is and gets there without too many detours.
The practical effect of all this is that people who read Dorisan's work tend to come away actually capable of doing something with it. Not just vaguely informed — actually capable. For a writer working in home maintenance hacks, that is probably the best possible outcome, and it's the standard Dorisan holds they's own work to.