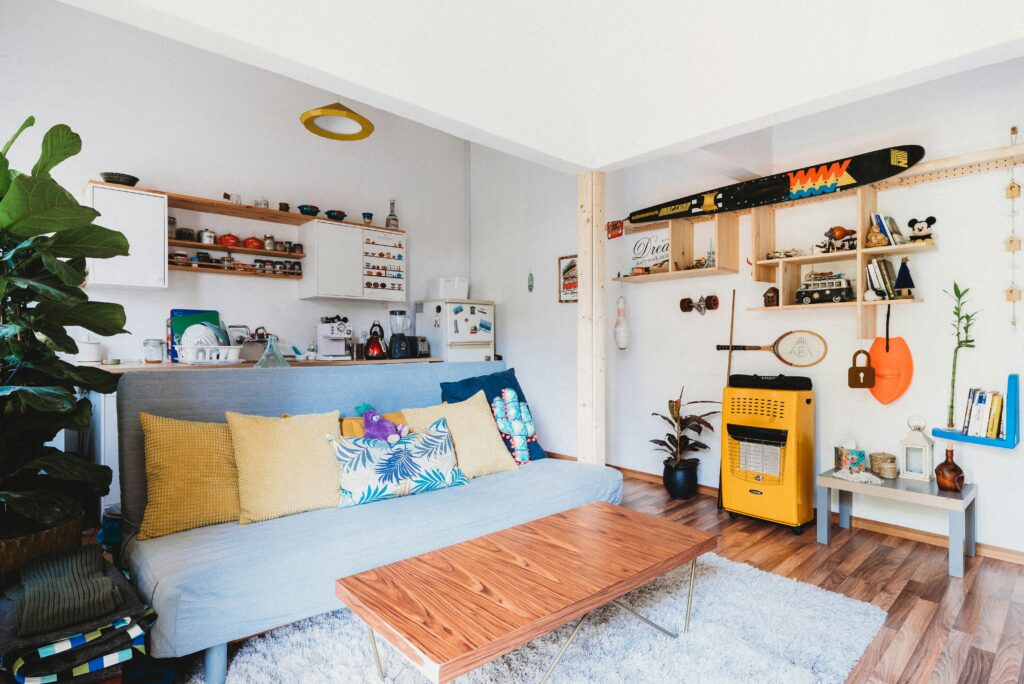
A headboard isn’t just a backdrop. It’s the anchor of the bedroom. Whether bold or minimal, it draws the eye and sets the tone. Go without one, and the space can feel unfinished. Add one, and suddenly the bed becomes a statement.
You don’t have to spend a fortune, either. Thrifted finds, DIY builds, even repurposed doors or textiles can stand in for expensive store-bought versions. It’s about being resourceful more than being rich.
The best part? There are no rules. Want a velvet wall panel? Go for it. Paint a mural behind your bed? That works too. Your headboard is a chance to show what matters to you. Let it reflect your style, not the showroom’s.
Sourcing old wood is easier than you think—it just takes a bit of looking around and asking the right questions. Start with local barns or farm structures being torn down. Craigslist, Facebook Marketplace, and community groups often have listings for reclaimed lumber. Pallet wood is another solid option, just make sure it’s stamped safe for indoor use (look for HT, not MB). Thrift stores and salvage yards can surprise you with hidden gems too, especially if you’re after smaller pieces or accent panels.
You don’t need a full workshop. A saw, drill, sanding block, wood glue, clamps, and a brush will get the job done. If you’re staining, pick up a clean rag and a can of stain or sealer that fits your style.
Once you’ve cleaned and sanded the wood, sealing it ensures it lasts. Use a clear matte for a raw look or go with darker stains for moodier tones. Mounting depends on your piece—floating brackets keep it modern, while exposed screws lean rustic. Finally, your styling sets the tone. Go rustic with visible knots and raw edges. Industrial? Add in black pipe or metal accents. For a clean modern twist, keep cuts sharp and finish smooth. The beauty of old wood lies in its imperfections—you just need to guide the story.
Foam, fabric, plywood. That’s the trifecta for DIY upholstered headboards or wall panels that look custom-made without blowing your budget. High-density foam gives structure and softness. Plywood frames keep it lightweight but solid. Fabric wraps it all, and that’s where your look comes alive.
The process is straight-up: measure the space and your plywood base, then cut the foam to size. Spray adhesive helps bond foam to plywood, but don’t overdo it. Next up, wrap fabric tightly over the foam and staple it along the back of the plywood. Use clean folds on the corners to keep things sharp.
When it comes to style, vertical seams create just enough dimension without clutter. Tufted buttons are a classic move if you’re after that polished hotel aesthetic. For something more modern, go with clean lines and fewer interruptions.
If you’re working with tight margins, look for upholstery-weight polyester blends or microfiber—they mimic upscale materials like velvet and wool, but cost a fraction and hold up well over time. The goal here isn’t just to fake luxury. It’s to create something that feels intentional and holds up day to day.
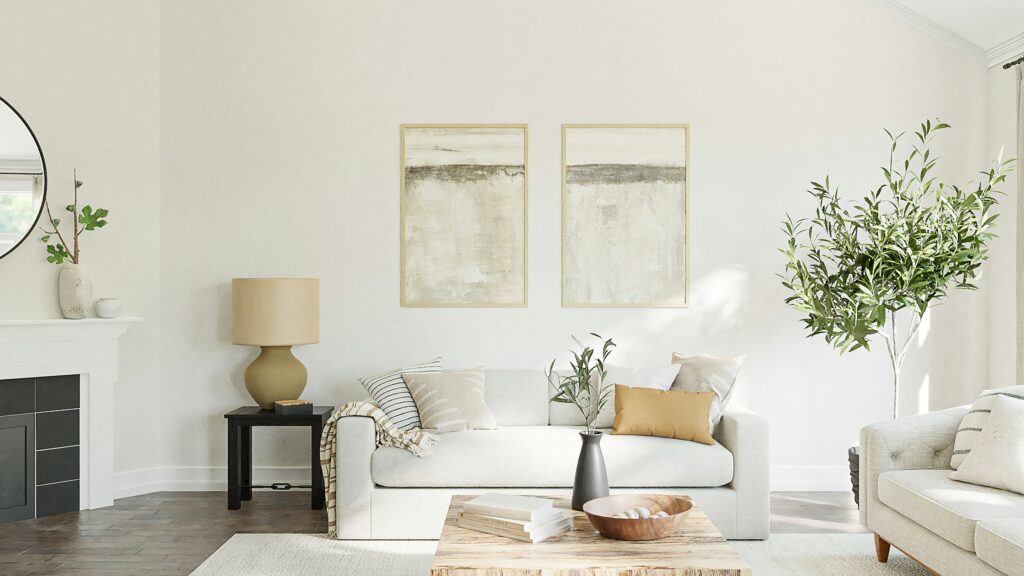
If you’re short on space or just want to skip buying a traditional headboard, a painted wall can do the heavy lifting. The trick is to be intentional. A simple rectangle in a muted tone or a bold splash in contrast to your walls can anchor the bed and frame your setup.
You’ve got two main routes: go freehand if you’re confident with a brush, or lean on stencils for cleaner edges and symmetry. Either works, and both give off a personal, lived-in vibe. If you’re going minimalist, skip the flourishes. A solid color block or a few sharp-edged geometric shapes get the job done without cluttering the visual frame.
The goal isn’t perfection—it’s personality with purpose. Use what you have. Make it yours.
A headboard that does more than just look good? That’s the goal. Combining storage and style is all about using what you already need in a smarter way. Low-profile shelves make a sleek headboard base that gives you room to stash things you reach for daily—books, headphones, maybe even your morning coffee setup—without turning your bedroom into a clutter zone.
Mounting matters. If you’re working with wall shelves, anchoring them properly to studs or using heavy-duty wall plugs is key. The last thing you want is a shelf tipping over in the middle of the night. Get your tools right, take your time, and triple-check your level.
Once it’s secure, mix function with a bit of flair. Add LED strip lights under the shelf for soft ambient lighting. Stack a few favorite reads, let a hanging plant drape down one side. You’re aiming for useful, but personal, too. Clean lines, clean space, and one less side table to worry about.
Want a headboard that doesn’t look pulled straight from a catalog? Turn old doors, shutters, or room dividers into something with actual character. This is one of those projects that looks high-end but costs next to nothing if you know where to look.
First, prep is key. Vintage pieces often come with chipped paint, grime, or mystery stains. Start by giving everything a solid clean with mild soap and water. Then sand it down—just enough to smooth rough edges and give your finish something to grip. If you’re after a more rustic look, leave in a little texture. Seal with a matte or satin polyurethane, or repaint entirely if the original color isn’t working for your space.
As for sourcing? Skip the big box stores. Head to local salvage yards, architectural reuse centers, or even estate sales. Habitat for Humanity ReStores nationwide often have stacks of old doors for under twenty bucks. You can also score finds on Facebook Marketplace or Craigslist—just search regularly and act fast when you spot a gem.
DIYing your headboard this way doesn’t just save money. It gives your space a story. And around here, stories matter.
Basic DIY Tips Every Vlogger Needs to Know
Being a vlogger today often means being a part-time set designer. When you’re building or updating your space, having the right tools saves time and prevents the kind of mistakes that tank your footage or damage your walls. Start by stocking your toolkit with basics: a cordless drill, a reliable level, a tape measure, painter’s tape, and a decent stud finder. These aren’t luxury buys. They’re essentials.
Next, measure twice. Seriously. Whether you’re hanging LED panels or floating shelves for your backdrop, second-guess your first measurement. Also, when mounting anything to drywall, skip the guesswork and use proper wall anchors. They’re the difference between a secure setup and something crashing down mid-recording.
Common mistakes? Too many to count, but here are a few that keep repeating. First, unstable mounts—tripods that can’t hold an angle or lights that wobble when the fan’s on. Second, improperly sealed or painted wood that warps or peels under studio lighting. Third, the wrong fabric for sound dampening or backdrops—cheap synthetics that reflect light weirdly or wrinkle under minimal use.
This stuff doesn’t need to be fancy. It just needs to work, every time.
Vlogging didn’t just survive the chaos of the past few years. It adapted. Even as platforms changed their rules and attention spans drew shorter, creators kept finding smarter ways to tell stories, build communities, and stay visible. Long-form took a backseat to bite-size. Personality started to matter more than polish. And niche became the new mainstream.
Heading into 2024, the ground is shifting again. Algorithms are now hungrier for relevance and real-time value. Tools like AI are taking the pressure off production but raising questions about authenticity. Viewers are keen on substance, not just stunts. The message for vloggers? Show up often, bring something meaningful, and know exactly who you’re talking to.
Success today doesn’t belong to the loudest voice or the biggest following. It’s about smart consistency, sharp focus, and treating your audience like a real community—because they are.
Forget the mass-produced headboards. The best DIY ones aren’t just cheaper—they’re more personal. Your headboard can tell a story, drop a joke, or hint at who you are without saying a word. Want it rustic? Neon-lit? Upholstered with old band tees? Go for it.
This is where experimentation comes in. Start with a rough idea, then let it evolve. Some of the most interesting results come from taking risks, mixing styles, or using materials you wouldn’t expect. You’re not building for a catalog shoot—you’re building for you.
Function matters too. Add lights, shelves, or pockets if that’s your thing. But pull it all together with intent. This isn’t just a piece of furniture. It’s the backdrop to where you sleep, binge-watch, or dream up your next big idea. Make it work. Make it look good. Most importantly, make it yours.
 Quenric Drovayne writes the kind of home and garden trends content that people actually send to each other. Not because it's flashy or controversial, but because it's the sort of thing where you read it and immediately think of three people who need to see it. Quenric has a talent for identifying the questions that a lot of people have but haven't quite figured out how to articulate yet — and then answering them properly.
They covers a lot of ground: Home and Garden Trends, DIY Home Projects, Interior Design Ideas, and plenty of adjacent territory that doesn't always get treated with the same seriousness. The consistency across all of it is a certain kind of respect for the reader. Quenric doesn't assume people are stupid, and they doesn't assume they know everything either. They writes for someone who is genuinely trying to figure something out — because that's usually who's actually reading. That assumption shapes everything from how they structures an explanation to how much background they includes before getting to the point.
Beyond the practical stuff, there's something in Quenric's writing that reflects a real investment in the subject — not performed enthusiasm, but the kind of sustained interest that produces insight over time. They has been paying attention to home and garden trends long enough that they notices things a more casual observer would miss. That depth shows up in the work in ways that are hard to fake.
Quenric Drovayne writes the kind of home and garden trends content that people actually send to each other. Not because it's flashy or controversial, but because it's the sort of thing where you read it and immediately think of three people who need to see it. Quenric has a talent for identifying the questions that a lot of people have but haven't quite figured out how to articulate yet — and then answering them properly.
They covers a lot of ground: Home and Garden Trends, DIY Home Projects, Interior Design Ideas, and plenty of adjacent territory that doesn't always get treated with the same seriousness. The consistency across all of it is a certain kind of respect for the reader. Quenric doesn't assume people are stupid, and they doesn't assume they know everything either. They writes for someone who is genuinely trying to figure something out — because that's usually who's actually reading. That assumption shapes everything from how they structures an explanation to how much background they includes before getting to the point.
Beyond the practical stuff, there's something in Quenric's writing that reflects a real investment in the subject — not performed enthusiasm, but the kind of sustained interest that produces insight over time. They has been paying attention to home and garden trends long enough that they notices things a more casual observer would miss. That depth shows up in the work in ways that are hard to fake.